
A revision letter is in the corner. The print on the bench may be older. You spot the bright orange margin stripe that flags engineering changes before you even lift the page, so you set down your end mill sharpener and pull it to the center of your work surface. No prior change notices are taped to the print you’ve been referencing for the last two hours, so you know you need to align every spec before you make the next cut.
This Revision Letter Outlines Modified Part Dimensions
You scan the header first to confirm it applies to the 4130 steel flange parts you are running for the industrial pump line, no other part numbers are referenced, so you don’t waste time sorting through irrelevant changes. All modified specs are highlighted in pale yellow, with old values struck through but still fully legible, so you can immediately spot what shifted without cross-referencing line by line unless you choose to. The letter is signed by the lead manufacturing engineer and dated three business days prior, with a scannable QR code in the bottom left that links directly to the digital version of the updated print if you need to pull it up on your bench tablet later. Illustrative example: the revised wall thickness for the upper mounting flange is 0.372 inches, down 0.008 inches from the original print spec, to accommodate the new snap-fit seal the end user added to their assembly process. The document also lists an updated surface finish requirement of 63 Ra for the internal 1.25 inch bore, up from the original 125 Ra, to reduce friction for the rotating shaft that fits inside the flange. A third change adjusts the counterbore depth tolerance for the four mounting holes from ±0.005 inches to ±0.010 inches, giving you more room for error when you run the finishing pass for those features, which cuts down on scrap risk for the rest of the run. The final note on the letter eliminates the secondary handheld deburr step for the outer edge of the flange, since the updated feed rate for the final profiling pass leaves a 0.015 inch radius that meets the end user’s edge break requirements without extra manual labor.
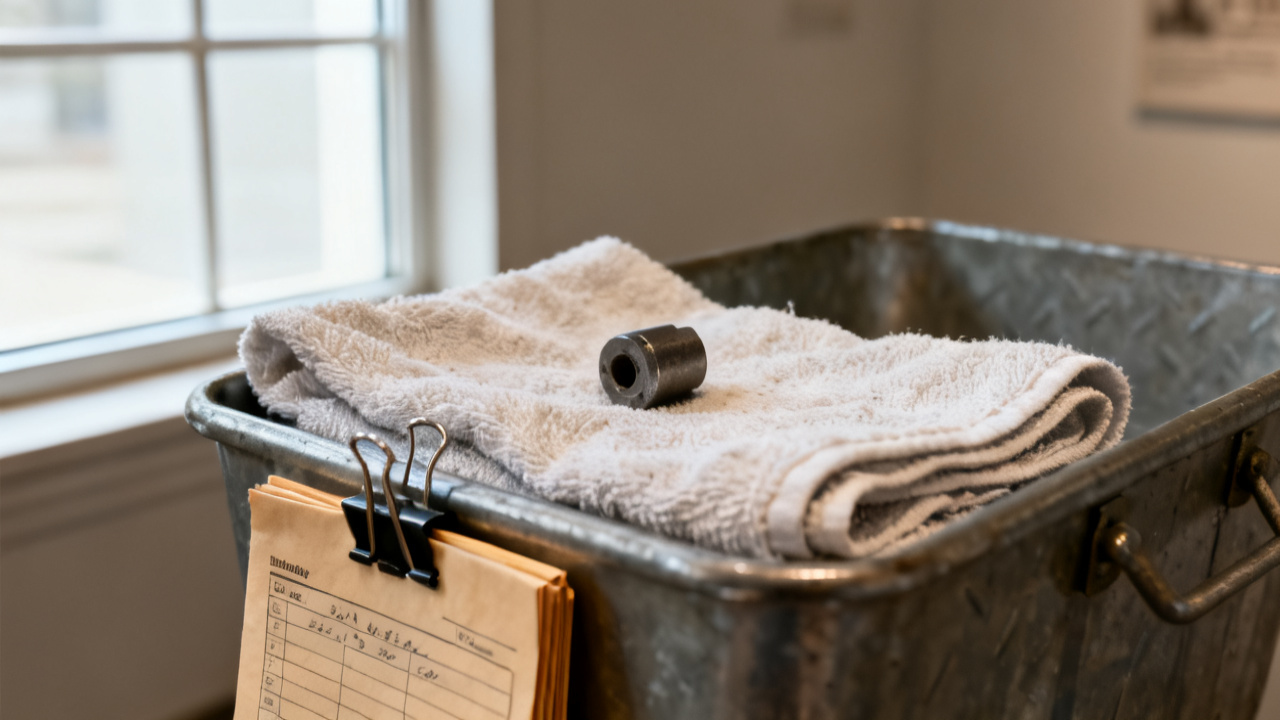
Cross-Check This Traveler Addendum Against Your Bench Print
You work through this cross-check methodically to avoid missing any changes that could lead to scrap or rework later, following a standard process you use for all revision notices:
- Line up the part number on the top right of the revision letter with the part number printed in the header of your bench print, to confirm you are matching the correct documents for the exact job you are running. If the part numbers do not match, set the letter aside and alert the shift lead immediately, as it was likely delivered to the wrong bench by mistake.
- Go through each highlighted change on the revision letter one by one, and mark the corresponding section of your bench print with the same orange margin stripe you see on the revision letter, noting the new spec and the revision date next to the original mark. Use a fine-tip permanent marker so the marks do not smudge or wipe off over the course of the run.
- Count the number of finished parts you have already machined for this run, and measure 3 random units against each updated spec to confirm they fall within the new tolerance ranges before you continue running new parts. You do not need to measure every part you have already finished, as long as the random sample passes all updated specs, since the original tolerances were tighter than the new ones for all features except the wall thickness and surface finish.
- Log the revision letter ID number in the job notes section of your bench log, along with the number of pre-revision parts you verified meet the new specs, to create a paper trail for the quality team to review later. Include the date and your employee ID number next to the entry so anyone following up knows who completed the cross-check.
- If any pre-revision parts fall outside the new tolerance ranges, set them in the red hold bin at the end of your bench and alert the shift lead before you make any additional cuts, so they can coordinate with engineering to determine if those parts can be reworked or need to be scrapped.
After you complete these steps, adjust your CNC program to reflect the new wall thickness, surface finish, and counterbore tolerance settings, and run a single test part to confirm the updated program produces parts that meet all the new specs. You only need to run one test part, since the rest of your program settings are already aligned with the original print requirements that did not change. Run the test part through your full in-process inspection routine, including bore gauge measurements for the internal diameter and a surface finish tester check for the bore, to confirm all updated specs are met before you resume full production for the run.
Filed Copies of This Revision Notice Appear With the Part Traveler For Future Runs
Once you confirm the test part passes all updated specs, you tape the original revision letter to the front of the physical job traveler packet, so every operator who works on this run after you sees the changes immediately when they pick up the job to continue production. The letter stays taped to the front of the traveler for the entire lifecycle of the run, including when the parts move to quality inspection, deburr, and final packaging, so every team that touches the parts references the correct updated specs. You make one personal photocopy of the letter to keep in your bench folder for your own records, in case a question comes up about the run after you complete your shift, or if you are assigned to run the same part again in the next few weeks before the digital job file is fully updated. You drop a second copy of the letter off at the Traveler Desk on your way to your mid-shift break, so the document control team can scan it and attach it to the digital job file for all future runs of this part. The next time this part is scheduled for production, the printed traveler packet will include this revision letter as a standard attachment, so the operator assigned to that run will not have to track down separate change notices before they start machining. Any future revisions to this part will be added as separate letters attached to the traveler, so the full history of all engineering changes stays with the job permanently, eliminating the risk of someone using an outdated print for a future run. You do not need to hold onto your personal copy of the letter for more than 90 days, as the digital and physical traveler copies become the official record of the revision once the run is complete and closed out in the production system. If you ever need to reference the revision after you discard your personal copy, you can pull up the digital traveler file from the shop’s internal network using the part number, or request a printed copy from document control if you need a physical version for a future run. This filing process ensures all changes are tracked centrally, so every team member who works on this part at any point has access to the most up-to-date specs without extra work or guesswork. You can resume production for the run immediately after filing the required copies, as all documentation requirements are complete once the letter is attached to the traveler and logged in your bench notes.