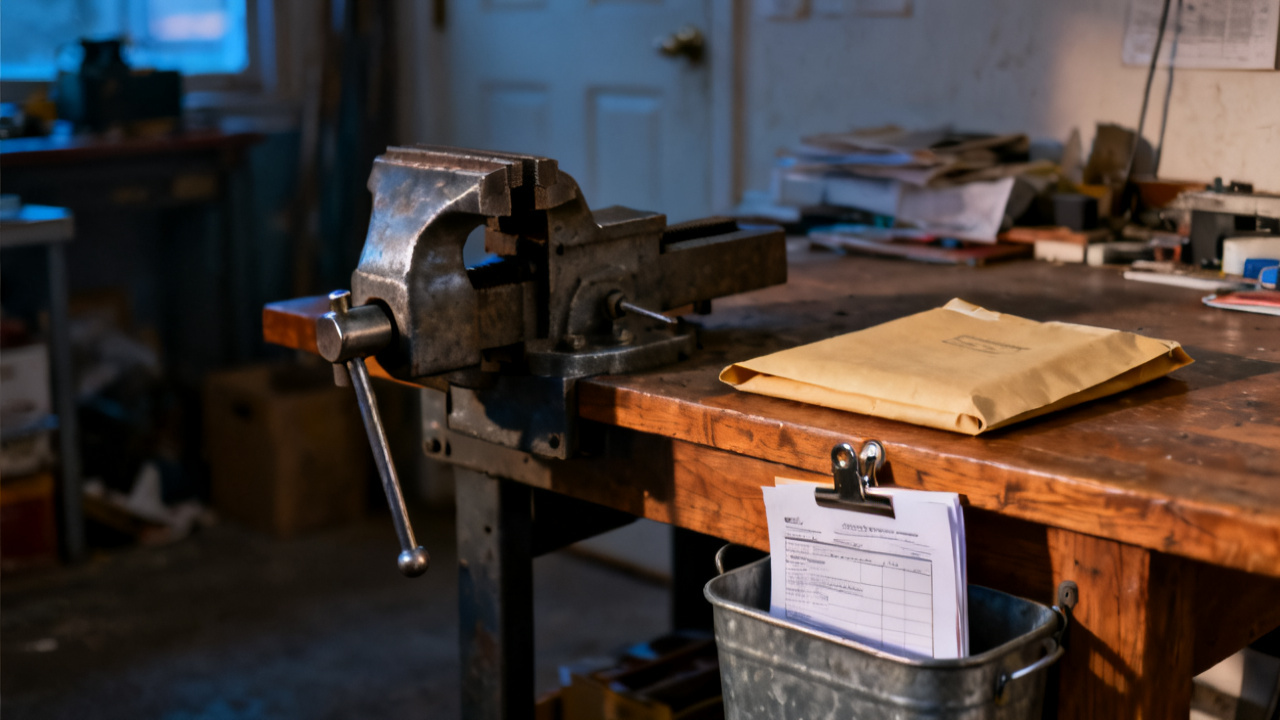
The sheet title is another operation. The part is at this machine. You set the 4140 billet in the 3-jaw chuck ten seconds ago, and you pull this traveler from the part’s zip tie pouch instead of the expected work order you saw in the scheduling app. You double-check the part number etched on the raw stock edge, and it matches the number printed in the top right corner of this page, even if the listed operation says horizontal mill instead of the CNC lathe you’re standing at.
This sheet’s cross-operation number match rules
Routing shifts happen regularly when a key machine goes down for unplanned maintenance, or when a high-priority order jumps the production queue to hit a tight deadline, so the operation title printed at the top of this sheet is not always the first indicator that you have the wrong part. Your first check is always to match the 8-digit part number etched into the chamfered end of the raw stock to the 8-digit number printed in bold in the top right corner of this sheet. If those numbers match, you are working the correct part, even if the operation title references a different machine or step in the production process. If you need to confirm the routing adjustment is authorized, you can pull up the latest shift notes on the Traveler Desk terminal by the break room, no need to track down the lead machinist mid-setup. If the numbers do not match, you set the part and this sheet aside for the material handler to re-route, no further action required.
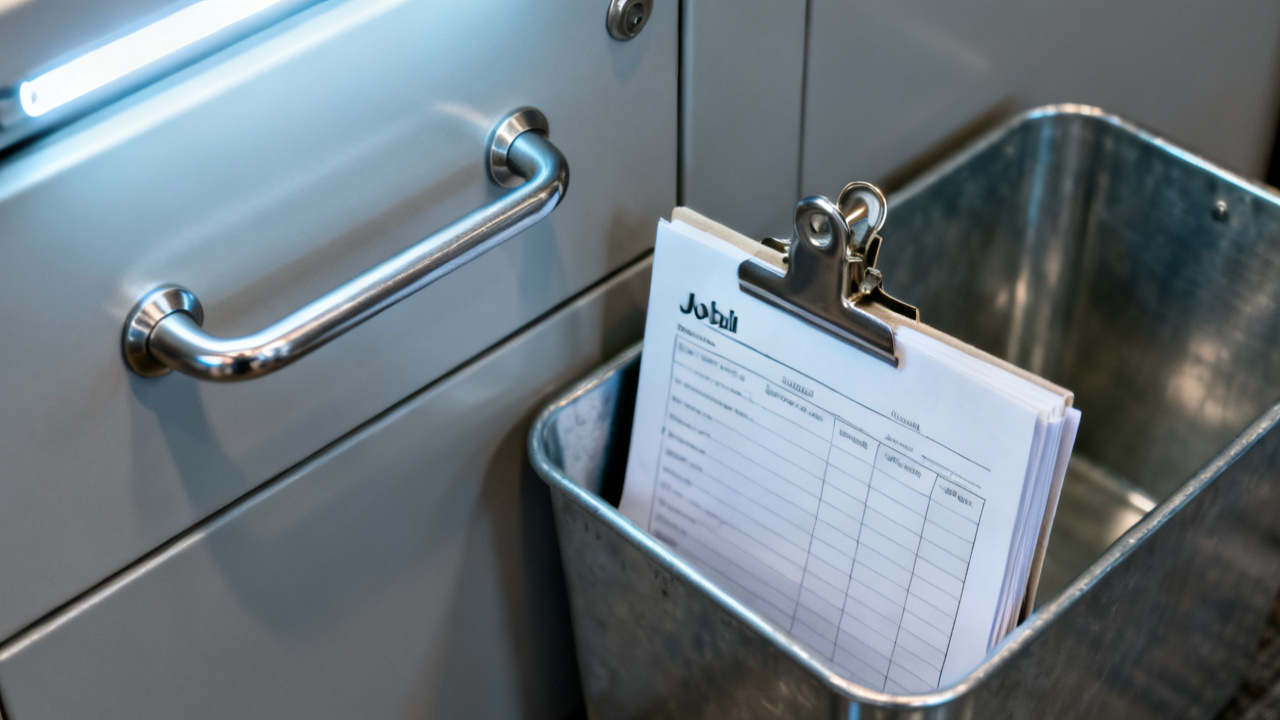
Marked discrepancies you log on this sheet right at the bench
Any mismatch between the listed operation and the machine you are working at counts as a reportable discrepancy that you note immediately, before you make any tool changes or cuts. You write the date, your employee ID, your machine number, and a 1-line explanation of the routing shift in the blank notes field directly below the printed operation title. You never scribble over or cross out the original printed operation title, as that information needs to stay legible for every downstream machinist and quality tech that interacts with the part. You also note any tool substitutions you make during setup, along with the adjusted speed and feed rates you use to compensate, so the next person running this part for the same order can replicate your settings without running test cuts. You do not need to print a new sheet to correct the operation title, all notes stay on this original document to preserve the full production history for the part.
Required dimension checks this sheet lists before you make any cuts
Before you load any tools into the lathe or set your work offsets, you run four quick dimensional checks of the raw stock to confirm it matches the specs listed on this sheet, catching material defects before you waste time and tooling on a bad billet. You log all measured values and mark a pass or fail flag for each check in the table below:
| Dimension Label | Printed Spec on This Sheet | Measured Value | Pass/Fail Flag |
|---|---|---|---|
| Raw stock outer diameter | 2.125 in ± 0.003 in | ||
| Raw stock total length | 12.375 in ± 0.005 in | ||
| Raw end chamfer depth | 0.062 in ± 0.01 in | ||
| Pre-drilled center drill depth | 0.125 in ± 0.02 in |
You only proceed with setup if all four checks receive a pass flag. Illustrative example: if the printed outer diameter spec is 2.125 inches, a measured value of 2.127 inches falls within acceptable raw stock tolerance for this grade of alloy, so you mark the pass flag and move to the next check. If any dimension falls outside the printed tolerance range, you note the failure in the discrepancy log section of this sheet and set the part aside for the material handler to return to the stock room. These pre-checks are added to every traveler sheet for this part number, regardless of listed operation, to catch material defects as early as possible in the production process.
Approval signatures this sheet requires before you move the part
Once you complete the turning operations listed in the fine print below the table, you run a final dimensional check of the turned outer diameter, the shoulder length, and the threaded end pitch, and log those values in the blank fields at the bottom of this sheet. You sign next to your employee ID in the machinist signature field, then flag down the on-shift quality tech for a first-piece inspection. The quality tech verifies your measured values against the printed specs, signs off if they fall within tolerance, and adds their own note confirming the routing adjustment is valid for this production run. You never move the part to the next station until both signatures are present on this sheet, even if you are 100% confident your cuts are within spec. If the quality tech flags a dimensional issue, you adjust your work offsets, run another test cut, and repeat the inspection process until you receive a passing signoff. All inspection notes stay on this sheet, no separate forms are required for the routing adjustment or first-piece check.
When you pull this same documentation for the next operation
When you are assigned to the horizontal mill for the next shift and you pull this same sheet out of the part’s zip tie pouch, your first step is to review the discrepancy log and signature fields to confirm the prior turning operation is complete and approved before you move to the milling steps listed on the back of this sheet. You do not need to re-run the initial raw stock checks, but you do confirm that the final turned dimensions logged on the front of the sheet match the pre-mill spec listed in the fine print on the back before you set the part in your mill vice. You log any tool substitutions, speed adjustments, or minor design tweaks you make during the milling process in the same notes section, add your signature when you complete your operation, and flag the quality tech for another first-piece check before you move the part to the deburr station. If you notice any missing signatures, unaddressed discrepancy notes, or mismatched part numbers when you pull this sheet, you flag the issue with the lead machinist before you do any work, so you do not waste time on a part that failed a prior inspection. This sheet stays with the part through every step of the production process, all the way through final packing, so every team member that interacts with the part has full visibility into its production history if an issue arises later in the run.